Surprisingly, Unleash Your Inner Thrasher: The Ultimate Guide to Building Your Backyard Mini Ramp can completely transform the way you approach things?
If you’re looking for practical tips to benefit from Unleash Your Inner Thrasher: The Ultimate Guide to Building Your Backyard Mini Ramp, you’ve come to the right place.
Don’t miss out on these useful tips because they will help you get ahead.
By the end of this article, you’ll discover something you never considered before. So, make sure to read until the end!
Unleash Your Inner Thrasher: The Ultimate Guide to Building Your Backyard Mini Ramp

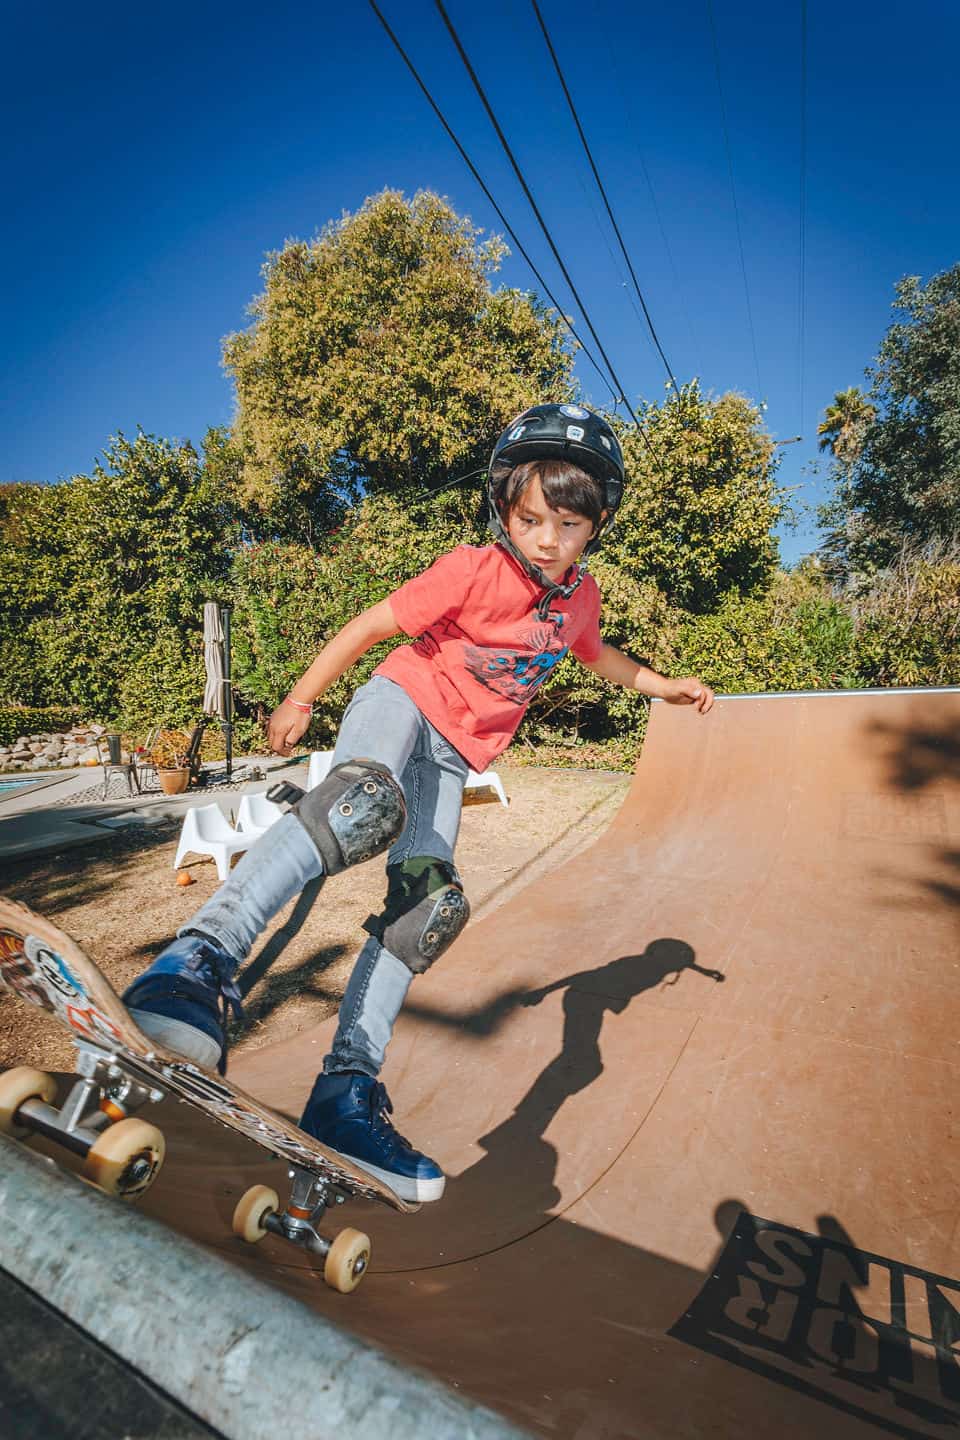
For skateboarding enthusiasts, nothing beats the adrenaline rush of conquering a perfectly designed mini ramp. And what could be more convenient than having one right in your own backyard? Building your own mini ramp is a rewarding project that will provide countless hours of skateboarding bliss.
Materials You’ll Need:
Related Articles: Unleash Your Inner Thrasher: The Ultimate Guide to Building Your Backyard Mini Ramp
- Burger Bliss In Your Backyard: 10 Sizzling Options For Your Next Grill-Out
- Embrace The Cool: 10 Must-Have Shade Solutions For Your Backyard
- Effective Backyard Bug Control With Cutter: Eliminate Pests With Confidence
- Backyard Unlimited: A Limitless Oasis For Nature Lovers
- 10 Inspiring Backyard Office Ideas To Boost Your Productivity
- Pressure-treated plywood (3/4 inch thick)
- 2×4 lumber for framing
- 4×4 posts for supports
- Roofing felt or tar paper
- Skateboard coping
- Bolts, screws, and washers
- Concrete or pavers (optional)

Step 1: Design and Dimensions
The dimensions of your mini ramp will depend on your available space and skill level. For beginners, a 4-foot-wide, 6-foot-long, and 2-foot-high ramp is a good starting point.
Step 2: Framing and Supports
Construct the frame of the ramp using 2×4 lumber. Ensure that the frame is sturdy and level. Use 4×4 posts as supports to reinforce the frame.
Step 3: Plywood Deck
Cut the plywood to fit the frame and attach it securely with bolts or screws. Cover the plywood with roofing felt or tar paper to protect it from moisture.
Step 4: Coping
Install the skateboard coping along the edges of the ramp. This will provide a smooth transition for your wheels.
Step 5: Finishing Touches

Add any additional features you desire, such as a roll-in or a kicker. You can also concrete or pave the area around the ramp for a more professional look.
Benefits of a Backyard Mini Ramp:
- Improved skateboarding skills
- Endless hours of fun
- Convenient access to practice
- Increased confidence and thrill
Safety Tips:
- Always wear a helmet and other protective gear.
- Inspect the ramp regularly for any damage.
- Start with small jumps and gradually increase the height as you gain experience.
- Never attempt tricks beyond your skill level.
Building your own backyard mini ramp is an exciting and rewarding experience. By following these steps and adhering to safety precautions, you can create a safe and thrilling haven for your skateboarding adventures.

Closure
Thus, we hope this article has provided valuable insights into Unleash Your Inner Thrasher: The Ultimate Guide to Building Your Backyard Mini Ramp. We appreciate your attention to our article. See you in our next article!
More about Unleash Your Inner Thrasher: The Ultimate Guide to Building Your Backyard Mini Ramp
