Have you ever wondered why Replace Your RV Awning in 5 Easy Steps: A DIY Guide for Enhanced Outdoor Enjoyment so effective?
This article will cover everything you need to know about Replace Your RV Awning in 5 Easy Steps: A DIY Guide for Enhanced Outdoor Enjoyment.
Keep reading to find out how it all works!
By the end of this article, you’ll discover something you never considered before. So, make sure to read until the end!
Replace Your RV Awning in 5 Easy Steps: A DIY Guide for Enhanced Outdoor Enjoyment

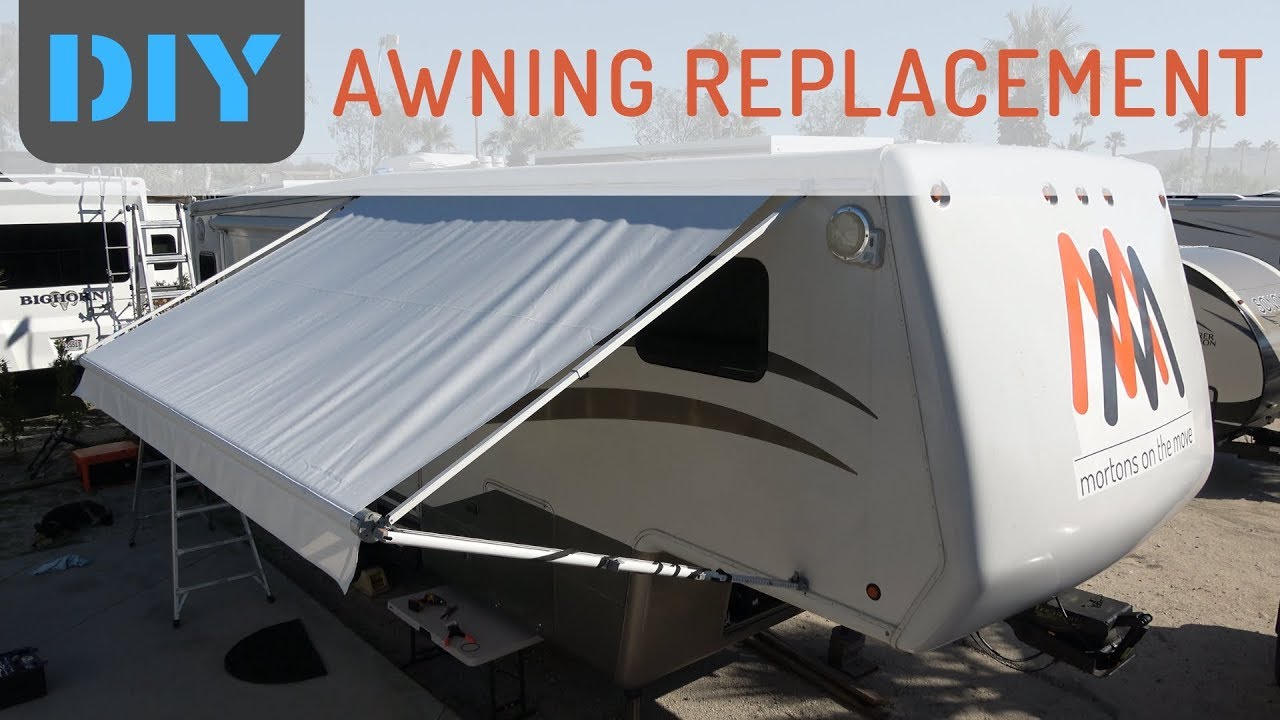
Your RV awning is a crucial component that provides shade, protection, and comfort during your outdoor adventures. However, over time, wear and tear can take its toll, necessitating a replacement. Replacing an RV awning can seem daunting, but with the right tools and a step-by-step guide, you can tackle this project with ease.
Step 1: Gather Your Materials
Related Articles: Replace Your RV Awning in 5 Easy Steps: A DIY Guide for Enhanced Outdoor Enjoyment
- Transform Your Outdoor Oasis With Sunsetter’s Unparalleled Retractable Awnings
- 5 Awful Awnings In Portland: Avoid These At All Costs
- Aleko Awnings: A Comprehensive Review
- Awning Replacement: A Smart Investment For 2023
- Exceptional BBQ Awning: 10 Essential Benefits To Enhance Your Outdoor Oasis
- New RV awning fabric
- Awning roller
- End caps
- Screws
- Drill
- Socket wrench
- Ladder

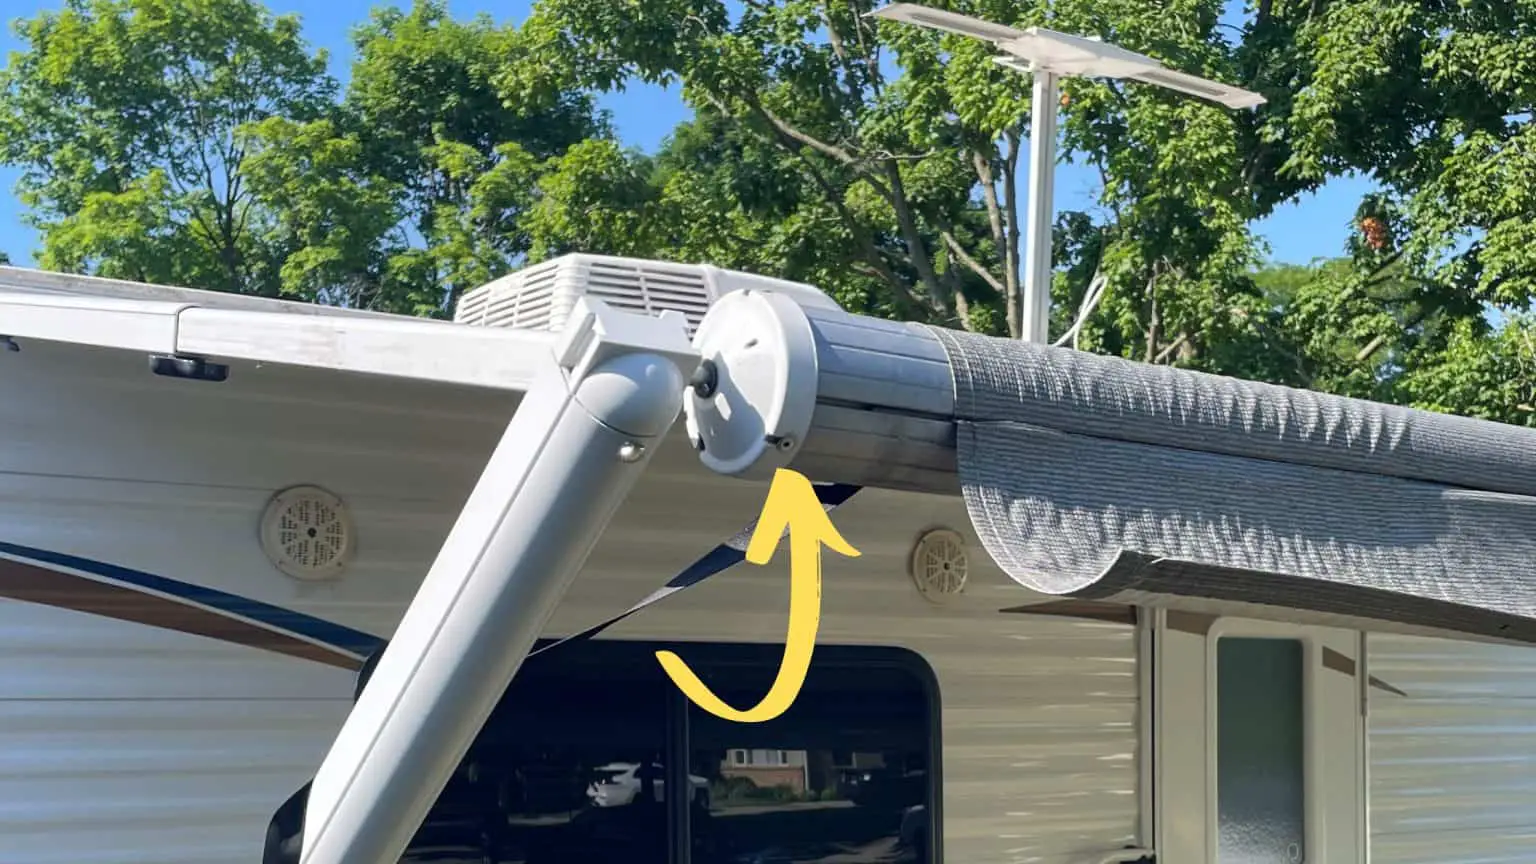
Step 2: Remove the Old Awning
- Extend the awning to its full length.
- Disconnect the power supply to the awning motor.
- Remove the end caps and screws holding the awning fabric in place.
- Carefully roll up the old awning fabric and remove it from the roller.
Step 3: Install the New Awning Fabric
- Unroll the new awning fabric onto the roller.
- Secure the fabric to the roller using the screws.
- Attach the end caps to the ends of the roller.
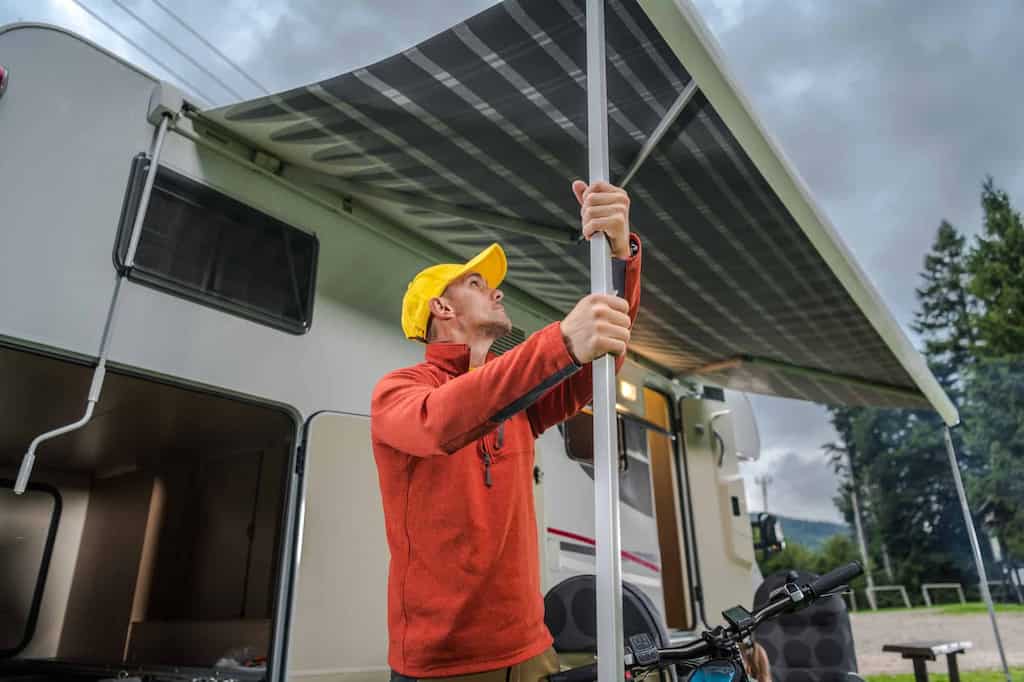
Step 4: Reinstall the Awning
- Position the awning roller in the mounting brackets.
- Connect the awning motor to the power supply.
- Extend and retract the awning several times to ensure proper operation.
Step 5: Finalize the Installation
- Check all screws and bolts for tightness.
- Clean any dirt or debris from the awning and roller.
- Enjoy your newly replaced awning, providing you with years of shade and outdoor enjoyment.
Replacing your RV awning is a simple and rewarding project that can significantly enhance your camping experience. By following these steps, you can save time, money, and enjoy the benefits of a new awning for seasons to come.
Closure
Thus, we hope this article has provided valuable insights into Replace Your RV Awning in 5 Easy Steps: A DIY Guide for Enhanced Outdoor Enjoyment. We appreciate your attention to our article. See you in our next article!
Click for more about >> Replace Your RV Awning in 5 Easy Steps: A DIY Guide for Enhanced Outdoor Enjoyment
