Did you know? Essential Camper Awning Replacement: A Comprehensive Guide to Enhance Your RV Experience is often overlooked but highly valuable?
If you’re looking for smart strategies to make the most of Essential Camper Awning Replacement: A Comprehensive Guide to Enhance Your RV Experience, you’ve come to the right place.
Keep reading to uncover the secrets!
By the end of this article, you’ll discover something you never considered before. So, make sure to read until the end!
Essential Camper Awning Replacement: A Comprehensive Guide to Enhance Your RV Experience

Replacing your camper awning can significantly enhance your RV adventures. Whether you’re looking to upgrade your existing awning or repair a damaged one, this comprehensive guide will empower you to tackle the task with confidence.
Why Replace Your Camper Awning?
Related Articles: Essential Camper Awning Replacement: A Comprehensive Guide to Enhance Your RV Experience
- 5 Reasons Why You Need An Awning In Miami
- Revolutionary Sunshade Awnings: Enhance Your Outdoor Haven
- Unveiling The Essence Of Awn: Nature’s Ingenious Adaptation
- Retractable Awnings: A Comprehensive Review Of The Top 5 Models
- Awning Walmart: 5 Reasons Why You Need One
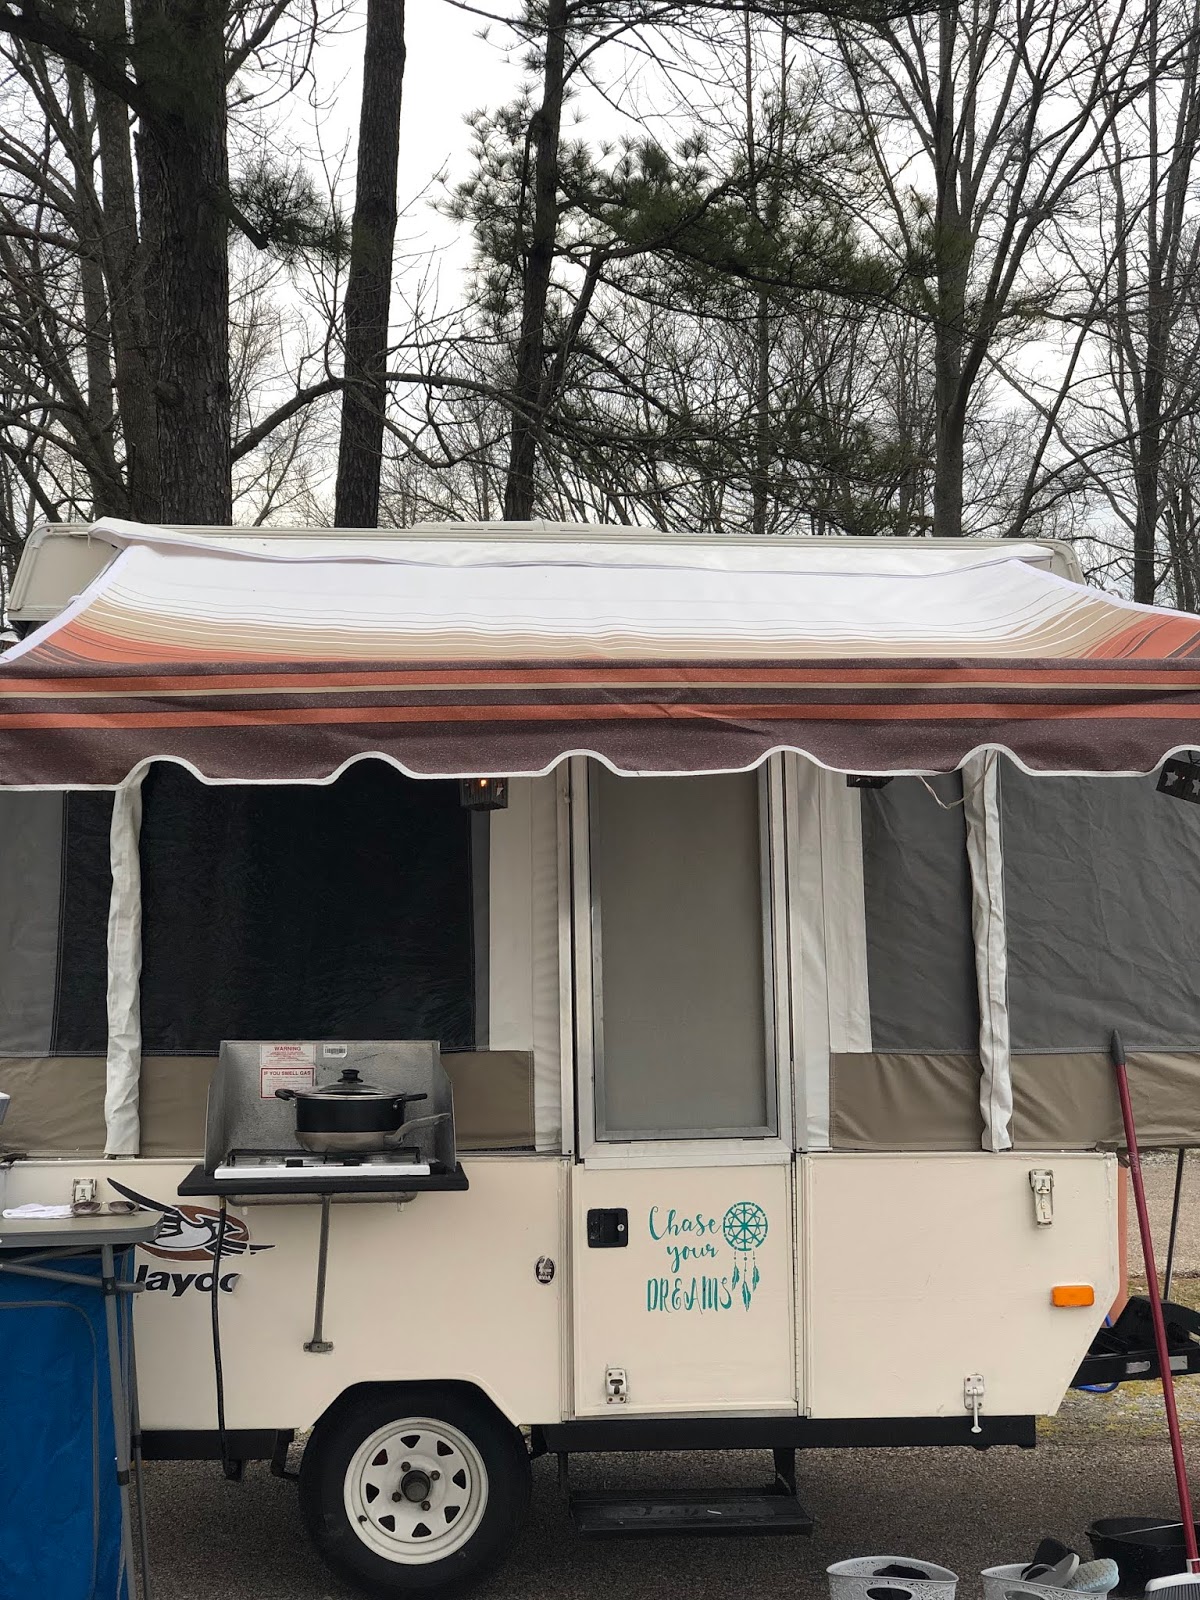
- Protection from the Elements: Awnings provide essential shade from the sun and shelter from rain, wind, and debris.
- Increased Living Space: Extend your living area outdoors with an awning that creates a spacious and comfortable canopy.
- Enhanced Aesthetics: A new awning can instantly refresh the look of your camper and make it stand out from the crowd.
- Improved Durability: Replacing a worn-out or damaged awning ensures longevity and prevents further deterioration.
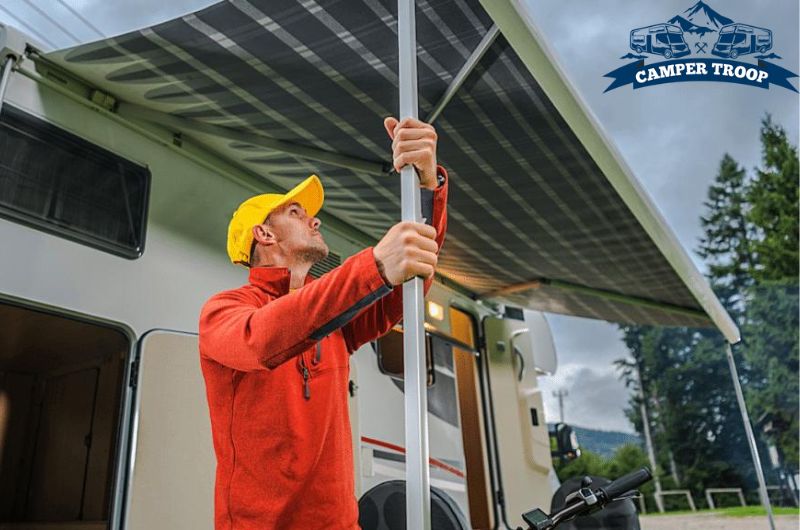
Step-by-Step Replacement Instructions:
- Gather Materials: Acquire a new awning, tools (screwdriver, wrench, ladder), and sealant.
- Remove Old Awning: Carefully unroll and remove the old awning fabric and support arms.
- Inspect and Clean: Check for any damage to the roller tube or support brackets and clean the mounting surface.
- Install New Support Arms: Secure the new support arms to the camper using the provided hardware.
- Attach Awning Fabric: Unroll the new awning fabric and attach it to the support arms.
- Adjust Tension: Tighten or loosen the fabric to achieve the desired tension.
- Seal and Secure: Apply sealant around the roller tube and support brackets to prevent leaks and ensure stability.
Tips for Success:
- Measure your camper carefully to determine the correct awning size.
- Choose a durable awning fabric that suits your needs and climate conditions.
- Use a ladder for safety when working at heights.
- If you encounter any difficulties, don’t hesitate to consult a professional.

Benefits of Camper Awning Replacement:
- Extended outdoor living space
- Improved protection from the elements
- Enhanced camper aesthetics
- Increased durability and longevity
Replacing your camper awning is an investment that will enhance your RVing experience for years to come. By following these instructions and tips, you can confidently tackle the task and enjoy the benefits of a new awning.

Closure
Thus, we hope this article has provided valuable insights into Essential Camper Awning Replacement: A Comprehensive Guide to Enhance Your RV Experience. We hope you find this article informative and beneficial. See you in our next article!
Click for more about >> Essential Camper Awning Replacement: A Comprehensive Guide to Enhance Your RV Experience
