Surprisingly, Elegant Jewelry Armoire: Elevate Your Storage and Style has incredible benefits?
If you’re looking for smart strategies to benefit from Elegant Jewelry Armoire: Elevate Your Storage and Style, you’ve come to the right place.
Keep reading to find out how it all works!
By the end of this article, you’ll understand the best ways to use Elegant Jewelry Armoire: Elevate Your Storage and Style to your advantage. So, make sure to read until the end!
Elegant Jewelry Armoire: Elevate Your Storage and Style

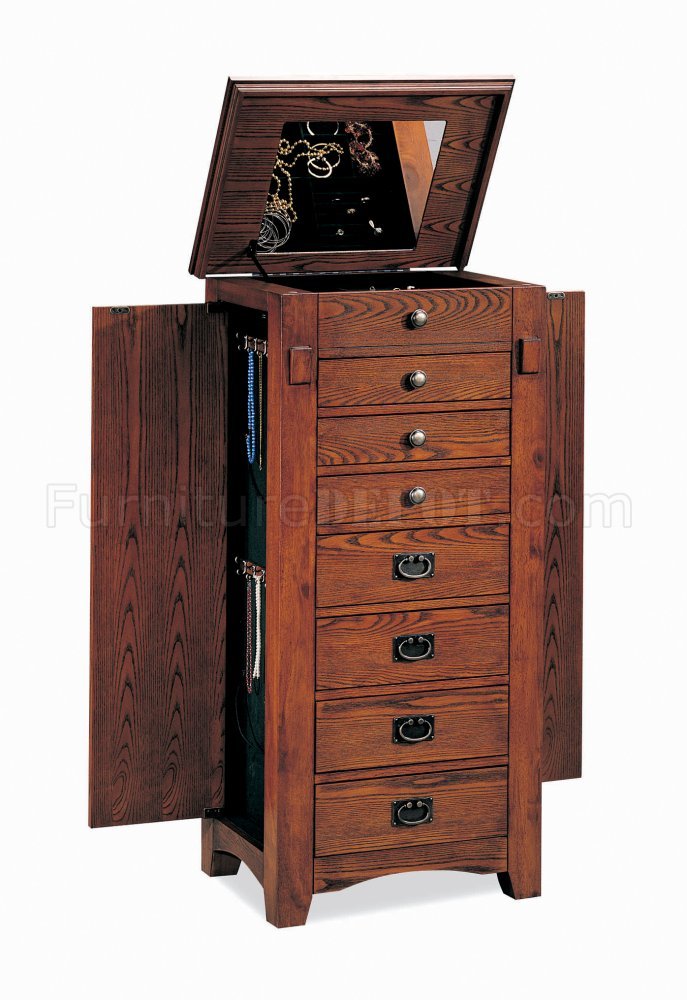
In the realm of jewelry, organization is paramount. A well-organized armoire not only keeps your precious pieces safe and untangled but also elevates your décor. If you’re tired of cluttered drawers and tangled necklaces, it’s time to invest in a jewelry armoire that will transform your storage game.
Step 1: Determine Your Needs
Related Articles: Elegant Jewelry Armoire: Elevate Your Storage and Style
- Essential Accessory: Over-the-Door Jewelry Armoire With Full-Length Mirror
- The Armoire: An Essential Piece Of Furniture For Any Home
- Gorgeous Fieldcrest Armoire: A Timeless Masterpiece For Your Home
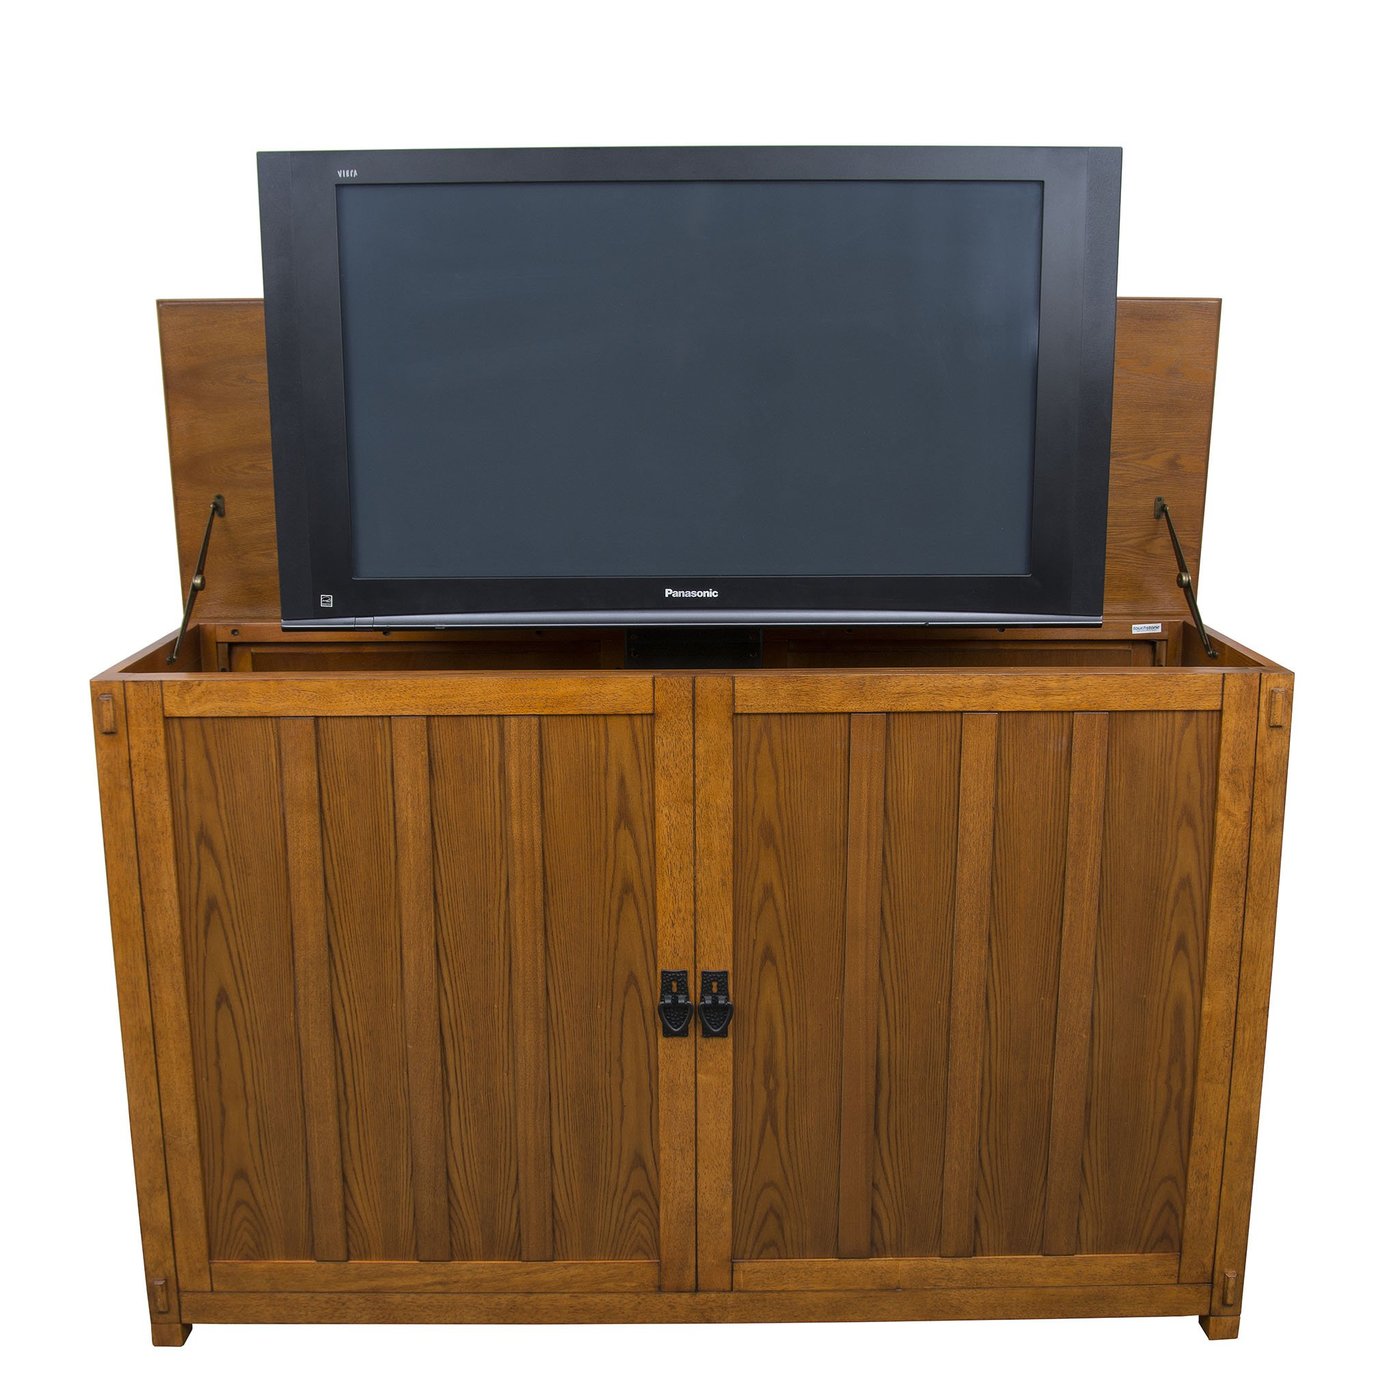
- Ultimate Entertainment Enhancement: 5 Reasons Why A Television Armoire Is A Game-Changer
- 5 Astonishing Scrapbooking Armoires For Your Cherished Memories
Before embarking on your armoire-building journey, take some time to assess your jewelry collection. Consider the types of pieces you own (e.g., rings, earrings, necklaces, bracelets) and how much storage space you need. This will help you determine the size and features of the armoire you need.
Step 2: Gather Materials
For this project, you’ll need:
- Plywood or MDF (1/2-inch thickness recommended)
- Wood glue
- Nails or screws
- Hinges
- Knobs or handles
- Felt or velvet fabric
- Tools (e.g., saw, drill, hammer, measuring tape)
Step 3: Cut and Assemble the Frame
Cut the plywood or MDF into the desired shape and size of your armoire. Assemble the frame using wood glue and nails or screws. Reinforce the corners with additional glue or brackets for added stability.
Step 4: Create the Shelves and Drawers
Cut shelves and drawers to fit inside the frame. Use wood glue and nails or screws to secure them in place. Consider adding dividers or compartments to the drawers for better organization.
Step 5: Add Hinges and Knobs
Attach hinges to the door and frame. Install knobs or handles for easy opening and closing. Ensure that the hinges are aligned correctly to prevent any binding or squeaking.

Step 6: Line the Interior
Cut felt or velvet fabric to line the interior of the armoire. This will protect your jewelry from scratches and prevent tarnishing. Secure the fabric using adhesive spray or fabric glue.
Step 7: Personalize and Decorate
The fun part! Add your personal touch to the armoire by painting it, staining it, or applying decorative trim. You can also add a mirror to the inside of the door for added convenience.
Conclusion
Building a jewelry armoire is a rewarding project that will enhance both the storage and style of your jewelry collection. By following these steps, you can create a custom armoire that meets your specific needs and complements your décor. Embrace the transformative power of organization and elevate your jewelry storage game today!

Closure
Thus, we hope this article has provided valuable insights into Elegant Jewelry Armoire: Elevate Your Storage and Style. We thank you for taking the time to read this article. See you in our next article!
Click for more about >> Elegant Jewelry Armoire: Elevate Your Storage and Style
