Many people don’t realize that DIY Deck Awning: Transform Your Outdoor Space in 5 Simple Steps can be a game-changer.
If you’re looking for smart strategies to make the most of DIY Deck Awning: Transform Your Outdoor Space in 5 Simple Steps, you’ve come to the right place.
Don’t miss out on these key takeaways because they could be the solution you’ve been searching for.
By the end of this article, you’ll feel inspired to try it for yourself. So, make sure to read until the end!
DIY Deck Awning: Transform Your Outdoor Space in 5 Simple Steps

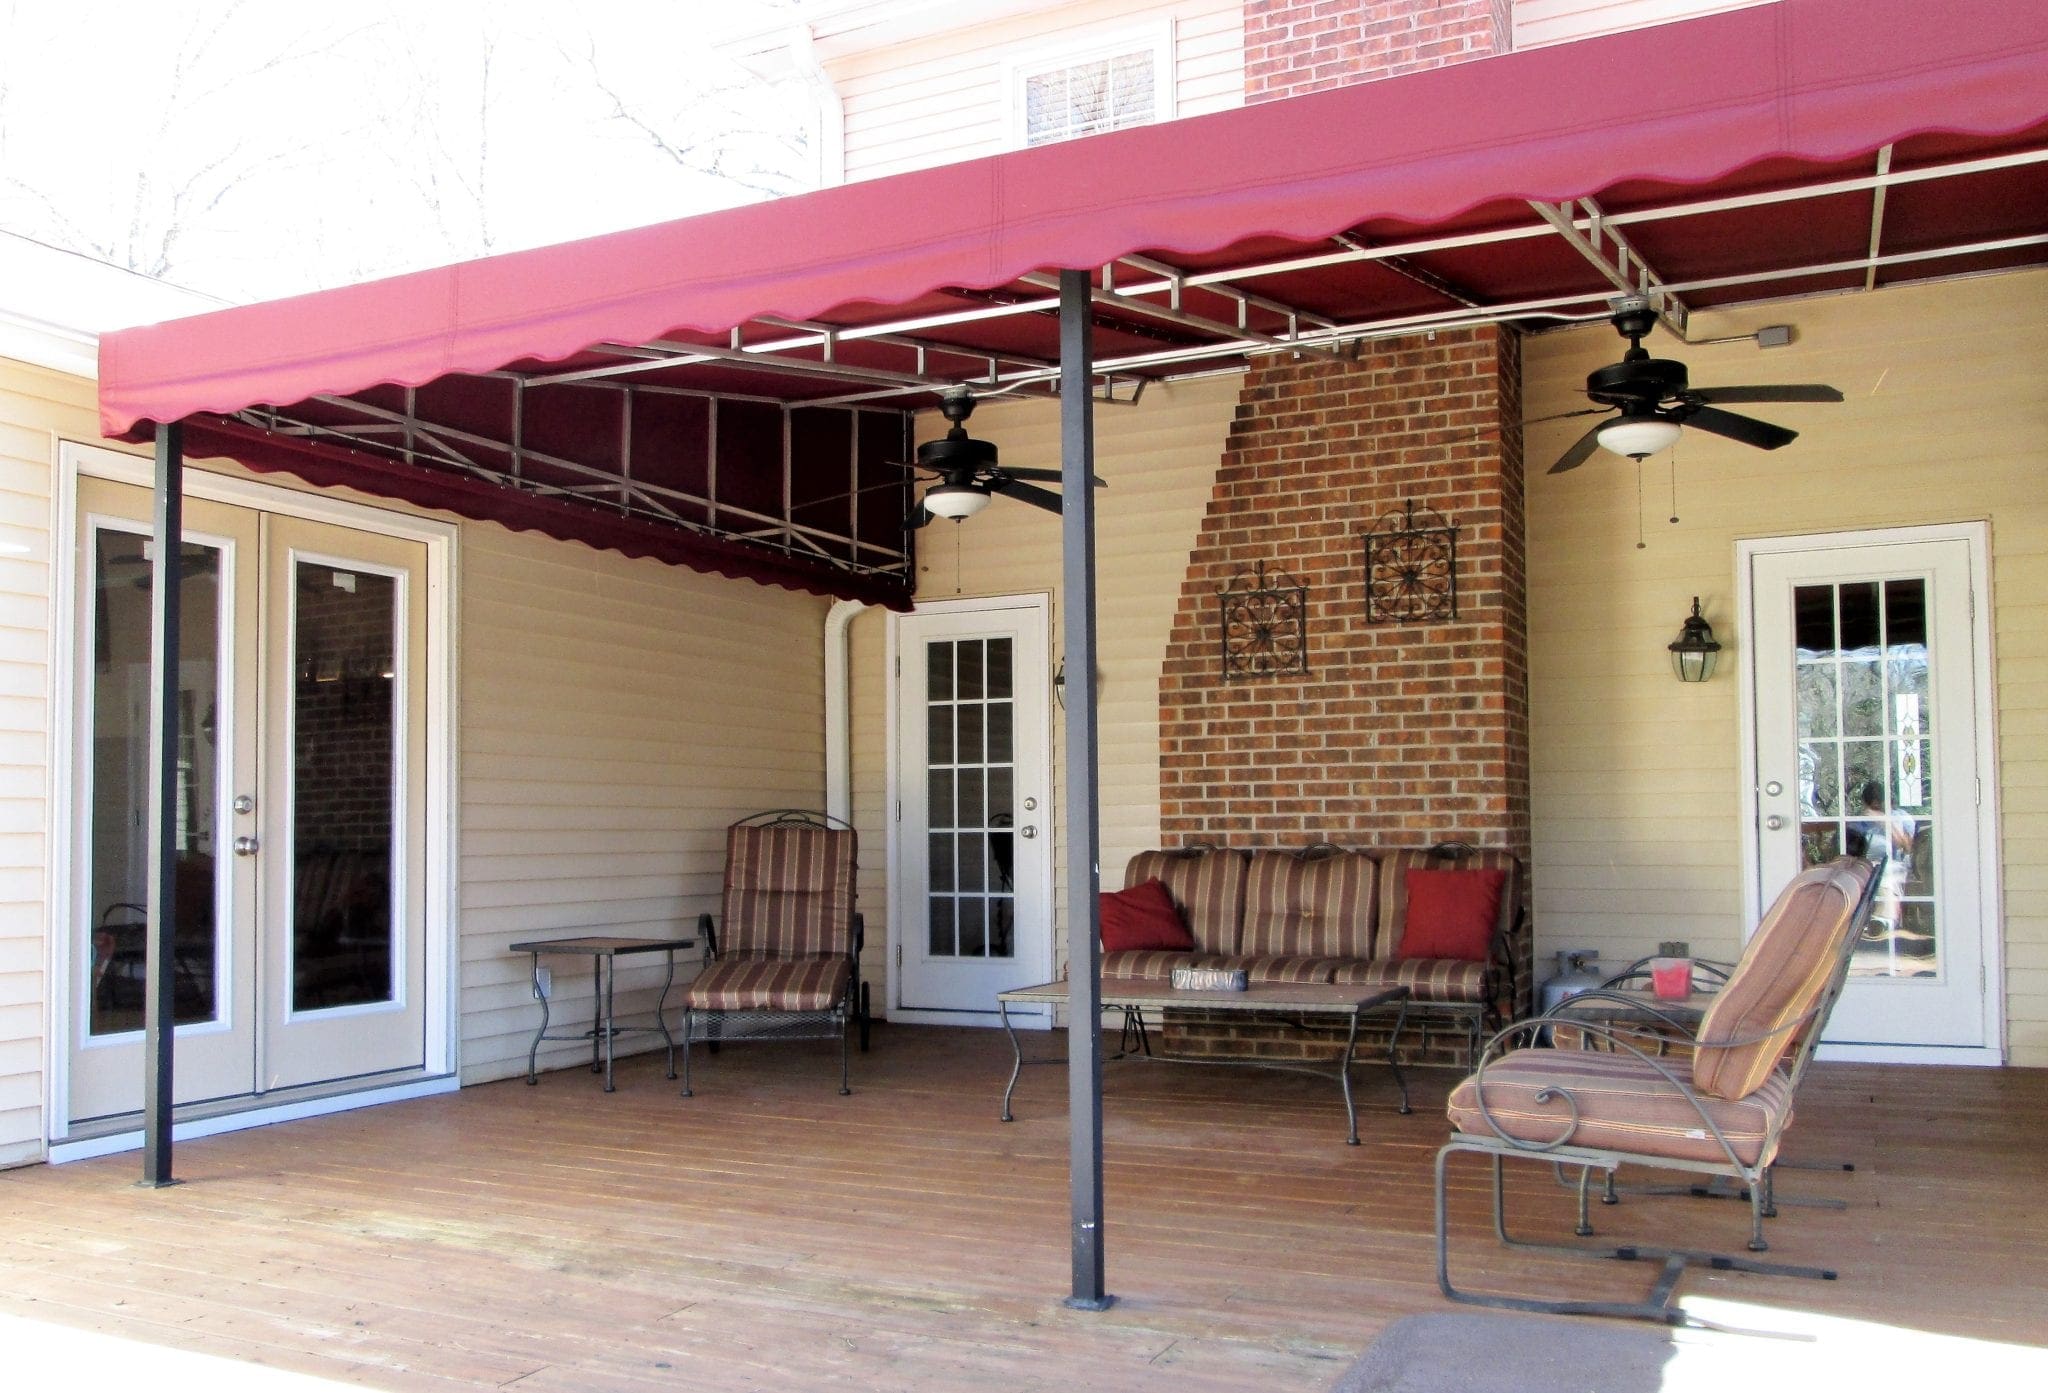
Elevate your outdoor experience with a stunning DIY deck awning. This practical and aesthetically pleasing addition will shield you from the elements and create a cozy and inviting ambiance for your backyard oasis.
Materials You’ll Need:
Related Articles: DIY Deck Awning: Transform Your Outdoor Space in 5 Simple Steps
- Durasol Awnings: The Ultimate Protection For Your Home
- Essential Awnings For Dallas: Enhance Your Outdoor Living
- Awning Posts: Essential For Enhancing Your Outdoor Space
- Costco Sunsetter Awnings: A Shady Oasis For Your Backyard
- 5 Reasons Why Metal Door Awnings Are A Game-Changer For Your Home
- Retractable awning fabric
- Aluminum awning frame
- Mounting brackets
- Screws and bolts
- Measuring tape
- Level
- Drill
- Wrench

5 Simple Steps to Build Your Deck Awning:
Plan and Measure: Measure the length and width of your deck area where you want to install the awning. Determine the desired projection and height.
-
Assemble the Frame: Connect the aluminum frame sections according to the manufacturer’s instructions. Use bolts and screws to secure the joints.
-
Attach Mounting Brackets: Mark the locations of the mounting brackets on the wall or ceiling above the deck. Use a level to ensure they are aligned. Drill pilot holes and install the brackets.
-
Install the Fabric: Unroll the retractable awning fabric and attach it to the frame using the provided clips or hooks. Adjust the tension to prevent sagging.
-
Mount the Frame: Carefully lift the assembled frame and align it with the mounting brackets. Secure it in place with bolts or screws.

Tips for Success:
- Choose a fabric that is UV-resistant and water-repellent.
- Ensure the awning is properly tensioned to prevent damage from wind.
- Add LED lights to illuminate your deck area during evening gatherings.
- Consider adding side panels to provide additional privacy and protection from the sun.
With these easy steps, you can create a beautiful and functional deck awning that will enhance your outdoor living space for years to come. Enjoy the shade, privacy, and comfort that this DIY project brings to your backyard sanctuary.

Closure
Thus, we hope this article has provided valuable insights into DIY Deck Awning: Transform Your Outdoor Space in 5 Simple Steps. We appreciate your attention to our article. See you in our next article!
Click for more about >> DIY Deck Awning: Transform Your Outdoor Space in 5 Simple Steps
